Our 3d rendering process consists of 4 simple steps outlined below. We gather information about your project and then build out your 3d model. Once a camera angle is approved we render a first draft image. After which, we provide you with a chance to revise your image and finally render the completed image.
STEP 1Obtaining Drawings And Materials
 Ideally, we work with DWG, DXF and PDF files. If you have other formats we can inform you whether we can work with them but we typically can. The first step is to send us your plans and determining your preferred camera angle for the rendering (ex. Front / Left, Front / Right etc.). At this stage, please send us as much information as possible such as the time of day, rendering style, colours and material samples.
STEP 2We Provide You A Rough Camera View
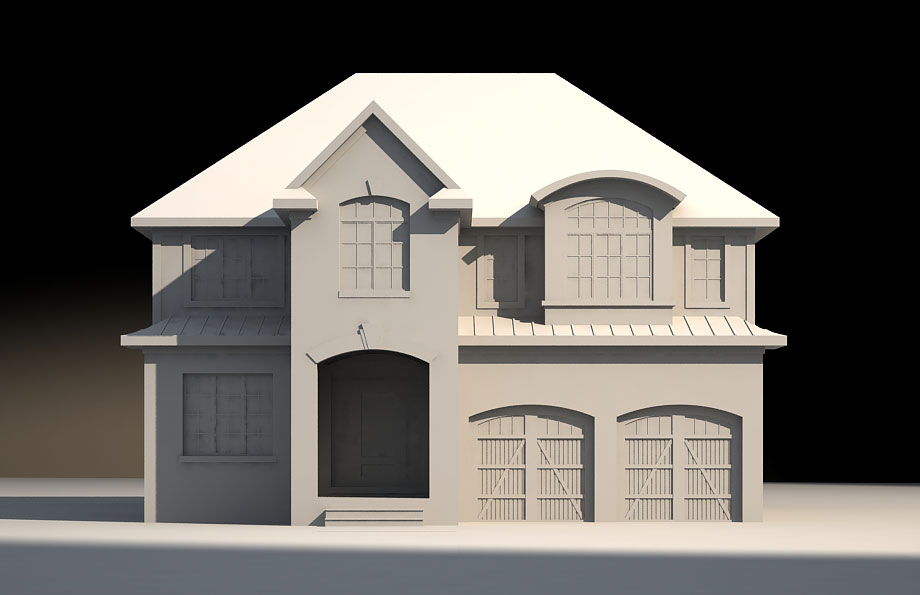
 Once you have provided us with all the necessary information, we will show you a rough grey rendered camera angle of your project. At this stage you will have a chance to make any revisions to the 3d model, and angle of the camera that you wish to change.
STEP 3We Render Your Image
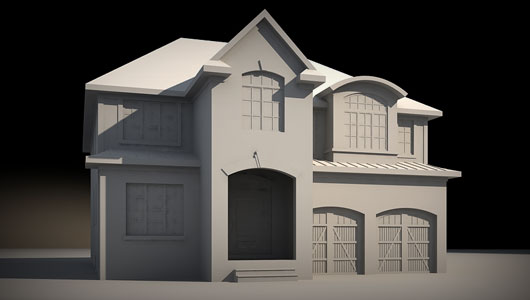
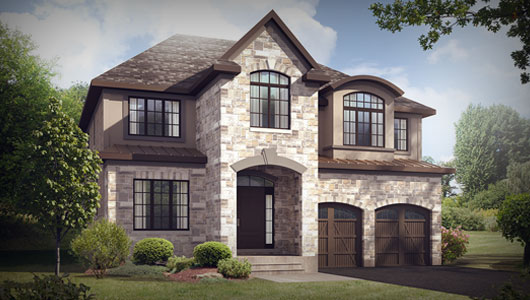 In this step, we will bring life into your project. Here we will render the first draft of your image with full textures, colours, materials and lighting. In this stage you will get another opportunity to make any changes regarding the textures, materials and lighting of the scene.
STEP 4Final Rendering
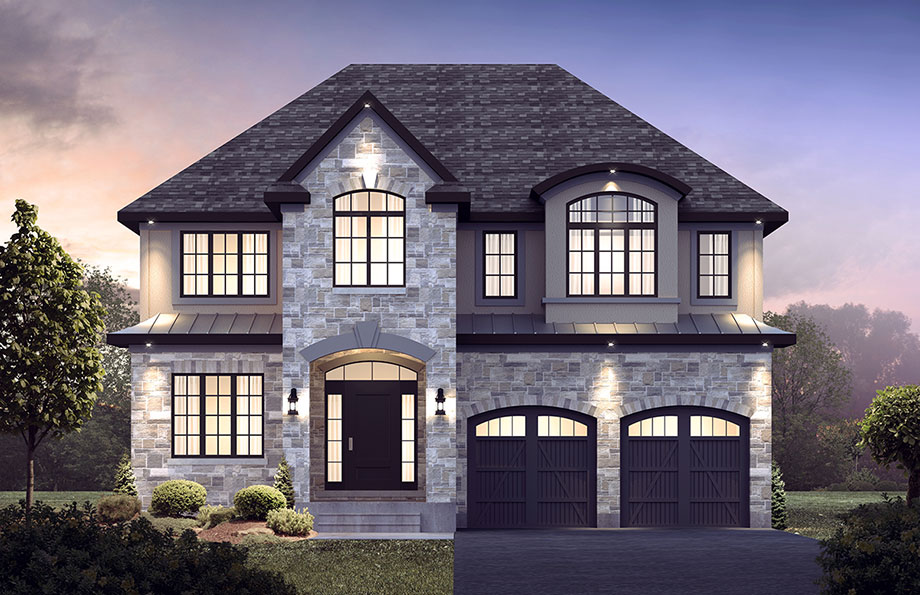
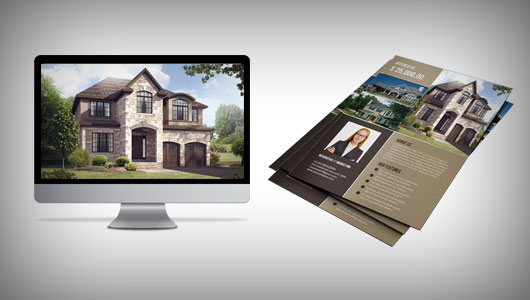 Once you have approved the final draft, we will render your image in high resolution and provide you with the files to use at your convenience. Once approved you can put the image on your website, in your print material or anywhere else you see fit.